How to Restore Old Furniture: Tips and Tricks for Beginners
Restoring old furniture can be a fulfilling project, breathing new life into cherished pieces that may have seen better days. Whether you’re dealing with a family heirloom or a thrift store find, understanding the advanced techniques of joinery, precision, and achieving a professional finish can elevate your restoration skills. In this article, we’ll cover essential tips and tricks for beginners looking to embark on their furniture restoration journey.
Assessing the Condition of Your Furniture
The first step in any restoration project is a thorough assessment of the piece you plan to restore. Look for signs of damage, such as:
- Cracks and Splits: Check for any structural damage in the wood.
- Loose Joints: Examine the joinery to see if any parts are coming apart.
- Surface Damage: Look for scratches, dents, or old finishes that are peeling.
- Woodworm or Pest Damage: Inspect for any signs of insect infestation.
Understanding the condition of your furniture will not only guide your restoration process but also help you determine the best materials and techniques to use.
Disassembling the Furniture
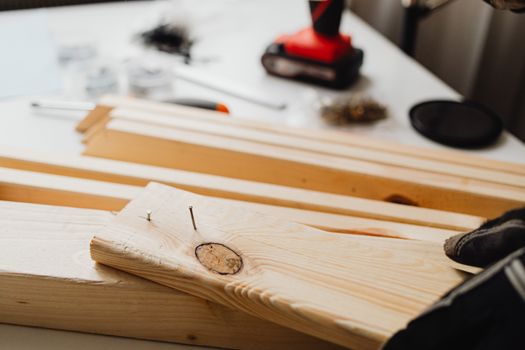
For many restoration projects, disassembling the furniture is crucial to address underlying issues. Carefully take apart the piece, keeping track of all screws, dowels, and other hardware. Here are some tips:
- Use a screwdriver and a rubber mallet to gently tap apart joints without causing additional damage.
- Label components as you disassemble them to simplify reassembly later.
- Take pictures of the disassembly process to refer back to when reassembling.
Advanced Joinery Techniques
Once your furniture is disassembled, you can focus on repairing or reinforcing the joints. Strong joinery is essential for the longevity of your restoration. Here are some advanced joinery techniques to consider:
- Doweling: This technique involves drilling matching holes in two pieces of wood and inserting wooden dowels to create a strong joint.
- Mortise and Tenon: A classic method where a protruding tenon from one piece fits snugly into a mortise hole in another. This provides a very strong connection.
- Pocket Hole Joinery: Using a pocket hole jig, you can create angled holes to join pieces together without visible screws on the outside.
These techniques not only strengthen the furniture but also give it a professional look when done correctly. You can find detailed plans for joinery techniques in resources like Ted Woodworking, which offers a variety of woodworking plans suitable for all skill levels.
Repairing Surface Damage
Once you’ve addressed the structural integrity of your furniture, it’s time to tackle surface repairs. This includes sanding, refinishing, and painting or staining:
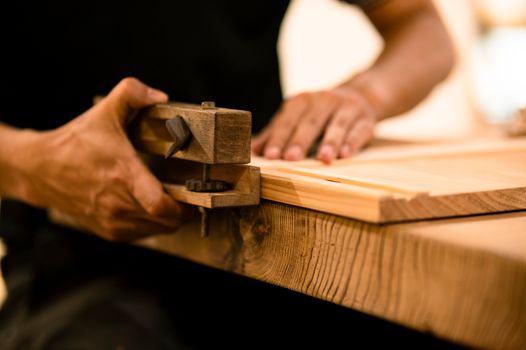
- Sanding: Start with coarse grit sandpaper to remove old finishes or rough areas, then progress to finer grits for a smooth surface.
- Refinishing: Choose a suitable finish (oil, varnish, or lacquer) that complements the wood's appearance. Apply multiple thin coats for a professional look, sanding lightly between coats.
- Painting/Staining: If you prefer a different color, consider using a wood stain or paint. Always test on a small area first to ensure you like the results.
Achieving a Professional Finish
The finish can make or break your restoration project. Here are some tips to ensure a flawless finish:
- Temperature and Humidity: Ensure you’re working in a controlled environment to avoid issues with drying times and application.
- Quality Materials: Invest in high-quality finishes and tools. Cheap brushes or finishes can lead to poor results.
- Technique: Use long, even strokes when applying finish and avoid overworking the surface. Allow adequate drying time between coats.
Reassembly and Final Touches
After all repairs and refinishing steps are complete, it’s time to reassemble your furniture. Take your time and ensure that each joint is secure. Final touches can include:
- Replacing any missing hardware with matching pieces.
- Adding felt pads to the bottom of legs to protect floors.
- Cleaning up any excess glue or finish for a neat appearance.
With patience and attention to detail, your restored piece will not only look beautiful but will also stand the test of time.
Conclusion
Restoring old furniture is an art that combines craftsmanship with creativity. By using advanced techniques in joinery, focusing on precision, and applying a professional finish, you can turn a worn-out piece into a stunning centerpiece for your home. Remember to take your time, enjoy the process, and don’t hesitate to look for guidance in resources like Ted Woodworking for additional plans and support.
FAQ
1. How do I know if my furniture is worth restoring?
Assess the piece’s condition and historical value. If it has sentimental value or is a quality piece, it’s likely worth restoring.
2. What tools do I need for furniture restoration?
A basic toolkit should include screwdrivers, a hammer, sandpaper, wood glue, clamps, and various saws. For advanced joinery, a pocket hole jig may also be useful.
3. Can I restore furniture without prior woodworking experience?
Yes, many restoration techniques can be learned with practice. Start with simple projects and gradually take on more complex pieces as you build your skills.
📚 Related Articles
🔨 Want 16,000+ Woodworking Plans?
Get instant access to step-by-step plans with blueprints and cut lists.
Get Instant Access →