Introduction to DIY Wooden Entryway Bench with Shoe Storage
Building a DIY wooden entryway bench with shoe storage is a great way to add functionality and style to your home. Not only will it provide a convenient place to sit and remove your shoes, but it will also help to keep your entryway organized and clutter-free. In this article, we will discuss the tools and materials needed to build a wooden entryway bench with shoe storage, as well as provide a step-by-step guide on how to complete the project.
Tools and Materials Needed
To build a wooden entryway bench with shoe storage, you will need the following tools and materials:
- Table saw or circular saw for cutting lumber
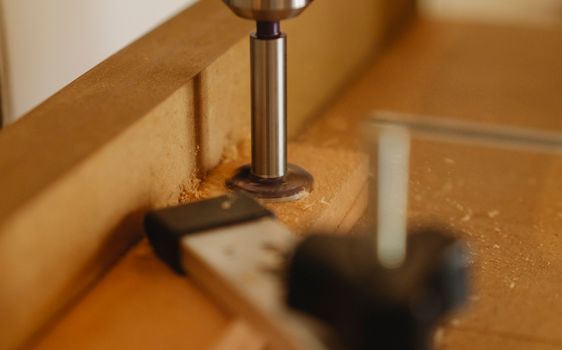
- Drill press or hand drill for drilling screw holes
- Sander for smoothing out wood surfaces
- Hammer for tapping screws into place
- Tape measure for measuring and marking lumber
- Square for ensuring accurate corners
- Clamps for holding pieces together while gluing and screwing
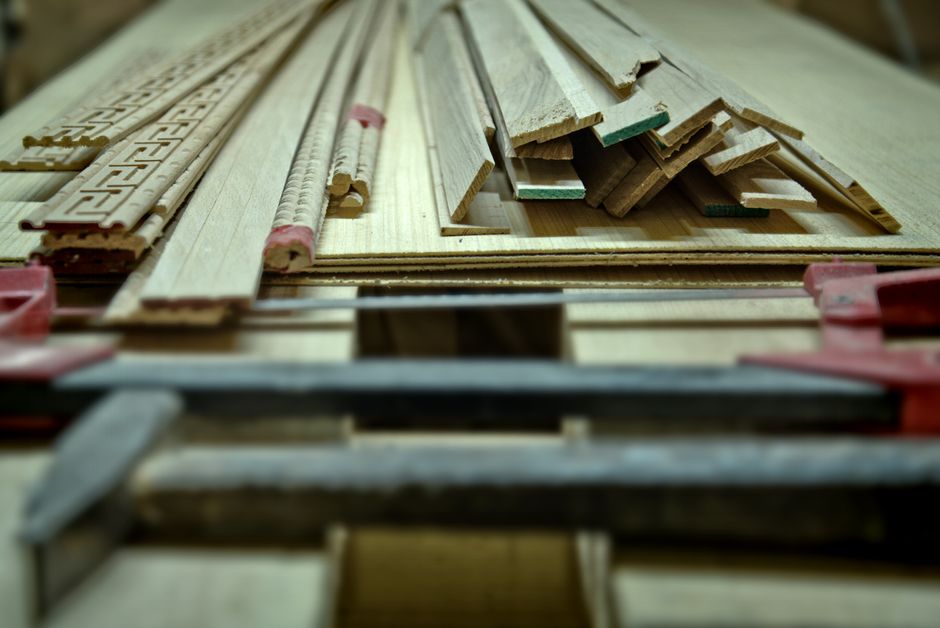
- Lumber (2x4s, 3/4 inch plywood) for the frame and shelves
- Screws and nails for assembling the bench
- Wood glue for bonding wood pieces together
- Finishing nails for attaching the back panel and shelves
- Paint or stain for finishing the bench
One of the most important tools you will need for this project is a table saw or circular saw. These tools will allow you to make precise cuts in your lumber, which is essential for building a sturdy and functional bench. The DeWalt DW735 is a great option for a table saw, as it is powerful and easy to use. However, it can be quite expensive, with a price tag of over $500. A more affordable option is the Skil 55900-01, which is a circular saw that can be used to make straight cuts in lumber.
Step-by-Step Guide
Now that we have discussed the tools and materials needed, let's move on to the step-by-step guide. The first step is to cut the lumber for the frame of the bench. You will need to cut four pieces of 2x4 lumber to the same length, which will be used for the legs and sides of the bench. Next, you will need to cut the plywood for the shelves and back panel. You can use a jigsaw or circular saw to make these cuts.
Once you have all of your pieces cut, you can begin assembling the bench. Use screws to attach the legs and sides together, and then use nails to attach the back panel and shelves. Make sure to use clamps to hold the pieces together while gluing and screwing, as this will help to ensure that the bench is sturdy and secure.
After the bench is assembled, you can sand and finish it. Use a sander to smooth out the wood surfaces, and then apply paint or stain to protect the wood and enhance its appearance. You can also add a coat of polyurethane to protect the finish and make it easier to clean.
Plans and Resources
If you are new to woodworking, you may want to consider using plans to help guide you through the process. One great resource for plans is Ted Woodworking, which offers a wide range of plans for different projects, including benches and other furniture pieces. These plans can be very helpful, as they provide detailed instructions and measurements to help you complete your project.
Conclusion
Building a DIY wooden entryway bench with shoe storage is a fun and rewarding project that can add functionality and style to your home. With the right tools and materials, you can create a beautiful and sturdy bench that will provide a convenient place to sit and remove your shoes. Just remember to follow the steps outlined in this article, and don't be afraid to ask for help if you need it.
Frequently Asked Questions
Here are a few frequently asked questions about building a DIY wooden entryway bench with shoe storage:
- Q: What type of lumber is best to use for this project? A: The best type of lumber to use for this project is 2x4 lumber for the frame and 3/4 inch plywood for the shelves and back panel.
- Q: How long does it take to complete this project? A: The time it takes to complete this project will depend on your level of experience and the tools you have available. However, with the right tools and materials, you can complete this project in a weekend.
- Q: Can I customize the design of the bench to fit my needs? A: Yes, you can customize the design of the bench to fit your needs. You can add more shelves or a larger back panel, or use different types of lumber and finishes to create a unique and personalized design.
🔨 Want 16,000+ Woodworking Plans?
Get instant access to step-by-step plans with blueprints and cut lists.
Get Instant Access →