Introduction
Building your own furniture not only saves money but also allows you to create something unique that fits your personal style. In this guide, we will explore how to build a stylish TV stand from scratch. This project is perfect for beginners and requires only basic tools and materials.
Tools and Materials Needed
Before we get started, let’s gather the tools and materials you will need for this project:
- Tools:
- Measuring tape
- Circular saw or miter saw
- Drill and drill bits
- Screwdriver
- Sandpaper (various grits)
- Clamps
- Level
- Paintbrush or roller (for finishing)
- Materials:
- 1x pine boards (for the top, bottom, and shelves)
- 2x pine boards (for the sides)
- Wood screws
- Wood glue
- Wood stain or paint (for finishing)
- Optional: cabinet handles or hardware
Step-by-Step Instructions
Step 1: Planning Your Design
Before cutting any wood, sketch your design on paper. Determine the dimensions of your TV stand based on the size of your TV and the space available in your room. A standard TV stand height is around 24-30 inches, with a width that accommodates your TV's size.
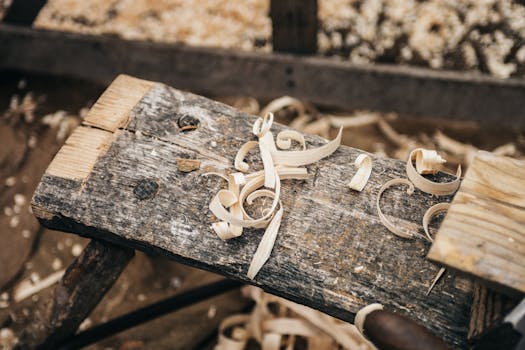
Step 2: Cutting the Wood
Once you have your design, it's time to cut the wood. Measure and mark the dimensions of each piece on the boards:
- 1 piece for the top (e.g., 60" x 20")
- 1 piece for the bottom (same size as the top)
- 2 pieces for the sides (e.g., 24" x 20")
- 1-2 shelves (depending on your design, e.g., 58" x 18")
Use your circular saw or miter saw to make the cuts. Always wear safety goggles and use clamps to secure the wood while cutting.
Step 3: Assembling the Frame
Start by assembling the frame of your TV stand:
- Attach the side pieces to the top piece using wood screws and wood glue for extra strength. Ensure everything is level.
- Repeat the process for the bottom piece.
- Check for square by measuring diagonally from corner to corner. Adjust if necessary.
Step 4: Adding the Shelves
Decide where you want the shelves to be placed. Mark the positions on the inside of the side pieces:
- Use shelf pins or brackets to hold the shelves in place.
- Install the shelves according to your design.
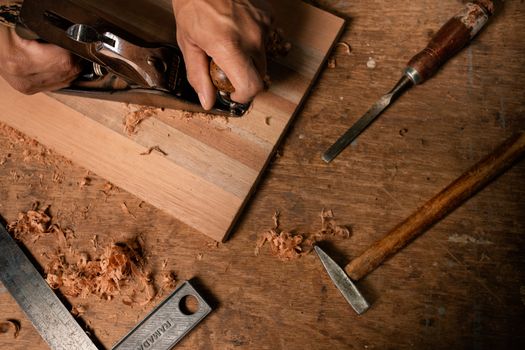
Step 5: Sanding and Finishing
Once the stand is assembled, it’s time to sand it down:
- Start with a coarse grit sandpaper and work your way to a finer grit.
- Make sure to sand all edges and corners to avoid splinters.
After sanding, clean the dust off and apply your chosen finish:
- Wood stain for a natural look or paint for a pop of color.
- Allow to dry according to the product instructions.
Step 6: Final Assembly and Hardware
Once the finish is dry, you can add any hardware, such as cabinet handles or decorative knobs, if desired. Additionally, consider adding a back panel for stability, especially if you will be placing heavy items on your stand.
Additional Resources
If you’re looking for more detailed plans and ideas, Ted Woodworking offers a vast selection of woodworking plans that can kickstart your next project.
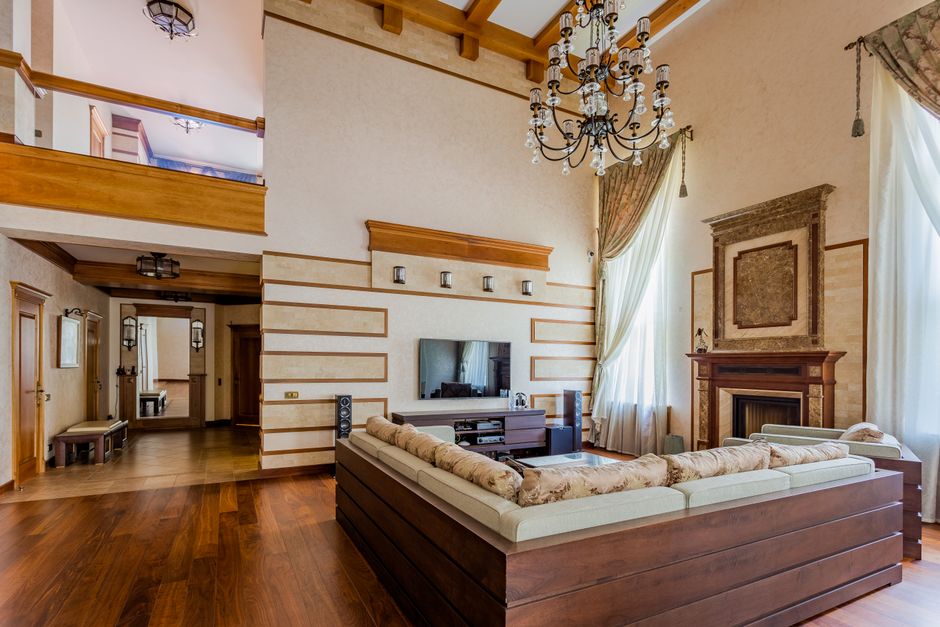
Conclusion
Congratulations! You have now built your own stylish TV stand from scratch. Not only is this a functional piece of furniture, but it is also a testament to your woodworking skills. Enjoy your new TV stand and the satisfaction of having created it with your own hands!
FAQ
1. How long does it take to build a TV stand?
The time it takes to build a TV stand can vary, but most beginners can complete it in a day. This includes planning, cutting, assembling, and finishing.
2. What type of wood is best for a TV stand?
Pine is a great choice for beginners due to its affordability and ease of use. However, hardwoods like oak or maple can provide a more durable and stylish finish.
3. Can I customize the size of the TV stand?
Absolutely! Customize the size based on your TV dimensions and available space. Just make sure to adjust the measurements accordingly while cutting the wood.
📚 Related Articles
🔨 Want 16,000+ Woodworking Plans?
Get instant access to step-by-step plans with blueprints and cut lists.
Get Instant Access →