How to Build a Raised Garden Bed with Cedar in 5 Easy Steps
Building a raised garden bed is a rewarding project that allows you to grow your favorite plants while enhancing your garden's aesthetics. Cedar is an excellent choice for this project due to its natural resistance to rot and insects. In this article, we will guide you through the process of building a raised garden bed using cedar in five easy steps. We will also discuss common mistakes to avoid along the way, ensuring that your project is a success.
Step 1: Gather Your Materials
Before you start building, make sure you have all the necessary materials. Here’s a list of what you will need:
- Cedar boards (2x6 or 2x8, depending on desired height)
- Cedar corner posts (4x4)
- Wood screws (preferably stainless steel or coated to resist rust)
- Wood glue (optional for extra strength)
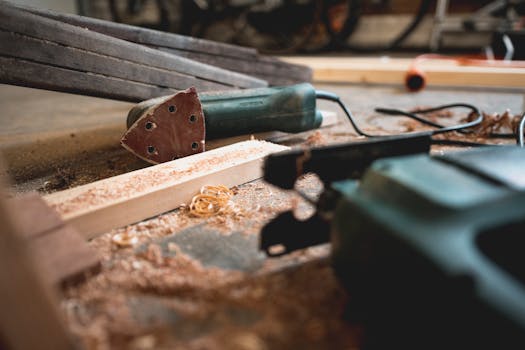
- Saw (hand saw or power saw)
- Drill with drill bits
- Measuring tape
- Level
- Soil and compost for filling the bed
Tip: Always double-check your measurements before cutting your cedar boards. Mistakes in measurements can lead to additional costs and wasted materials.
Step 2: Cut the Cedar Boards
Using your saw, cut the cedar boards to the lengths required for the sides of your raised garden bed. The typical dimensions for a raised bed are 4 feet by 8 feet, but feel free to customize based on your space and needs. If you are using 2x6 boards, a height of 12 inches is standard.
Common Mistake: Cutting the boards incorrectly can lead to uneven sides. Always measure twice and cut once.
Troubleshooting Tip: If you find that your boards are not fitting together as planned, check for any misalignments or leftover wood shavings from cuts. A square can also help ensure right angles.
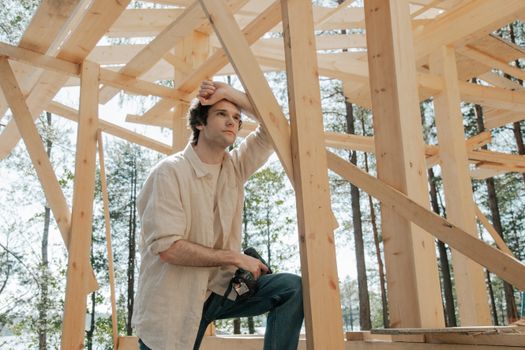
Step 3: Assemble the Frame
Once your boards are cut, it’s time to assemble the frame. Start by laying out the boards on a flat surface. Attach the boards to the corner posts using wood screws. Pre-drill holes to prevent the wood from splitting, especially in cedar, which can be brittle. If you’re using wood glue, apply it to the ends of the boards before screwing them together for added strength.
Common Mistake: Not ensuring the frame is square before securing the screws can lead to a crooked garden bed.
Troubleshooting Tip: To check for squareness, measure the diagonals of the rectangle. Both measurements should be equal. Adjust as needed before fully tightening the screws.
Step 4: Prepare the Site
Choose a sunny spot in your garden where you want to place your raised bed. Clear the area of grass, weeds, and debris. Level the ground to ensure that your raised garden bed sits evenly. This step is crucial for proper drainage and stability.
Common Mistake: Failing to level the ground can result in water pooling in one area of the bed, which can harm your plants.
Troubleshooting Tip: Use a level tool to verify the ground is flat. If the soil is too high in some areas, consider digging it out or adding soil to lower spots.
Step 5: Fill and Plant Your Raised Bed
Once your raised garden bed is assembled and in place, it’s time to fill it with soil and compost. Aim for a mixture that provides good drainage and nutrients. A common ratio is one-third compost, one-third topsoil, and one-third peat moss or coconut coir.
Now you can start planting your favorite vegetables, herbs, or flowers! Consider companion planting to maximize your space and improve plant health.
Common Mistake: Over-filling the bed with soil can lead to excessive weight and strain on the structure.
Troubleshooting Tip: Ensure that the soil level is at least a couple of inches below the top of the frame to allow for easy watering and prevent overflow during rain.
Conclusion
Building a raised garden bed with cedar is a fantastic way to enhance your gardening experience. By following these five easy steps and being mindful of common mistakes, you'll create a beautiful and functional structure that will last for years. For detailed plans and additional tips, consider visiting resources like Ted Woodworking.
FAQ
What is the best height for a raised garden bed?
A height of 12 to 18 inches is generally ideal for most plants, allowing for good root development while being easy to maintain.
How long will a cedar raised garden bed last?
With proper care and maintenance, a cedar raised garden bed can last anywhere from 10 to 20 years due to its natural resistance to decay.
Can I use treated wood for a raised garden bed?
While treated wood can be used, it is essential to ensure that the treatment is safe for food plants. Many gardeners prefer untreated wood to avoid any potential chemical leaching into the soil.
🔨 Want 16,000+ Woodworking Plans?
Get instant access to step-by-step plans with blueprints and cut lists.
Get Instant Access →