Can I DIY My Shed Roof? Step-by-Step Guide
Building a shed roof is a project that many woodworkers take on, but it can be daunting if you're not familiar with advanced techniques. In this guide, we will walk you through the process of building a shed roof with an emphasis on precision, joinery, and achieving a professional finish.
Understanding Your Shed Roof Options
Before we dive into the construction process, it's important to understand the different types of shed roofs available:
- Flat Roofs: Simple and easy to build, but require proper drainage solutions.
- Pitched Roofs: Offer better drainage, can be more complex but provide a classic look.
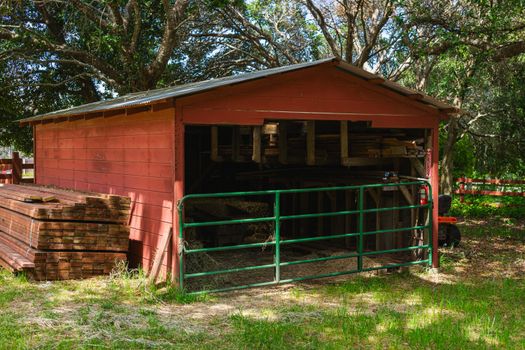
- Gable Roofs: Traditional design with two sloping sides, perfect for shedding rain and snow.
For this guide, we will focus on building a gable roof, as it is one of the most popular and functional designs.
Materials and Tools You Will Need
- Pressure-treated lumber (2x4s, 2x6s for rafters)
- Plywood or OSB sheets for sheathing
- Roofing material (shingles, metal sheets, etc.)
- Wood screws and nails
- Construction adhesive
- Measuring tape
- Level
- Circular saw or miter saw
- Drill
- Safety gear (gloves, goggles)
Step 1: Planning and Measuring
Start by sketching out your shed roof design. Determine the pitch of your roof and the dimensions of your shed. It's crucial to be precise with your measurements, as this will affect the overall look and functionality of your roof. Use a framing square to ensure your angles are accurate.
Step 2: Cutting the Rafters
Rafters are the structural framework that supports your roof. To cut them accurately:
- Decide on the length and angle of your rafters based on your roof pitch.
- Use a miter saw for clean, precise cuts.
- Consider using a jig for repetitive cuts to ensure consistency.
Remember to label each rafter according to its position to avoid confusion during assembly.
Step 3: Assembling the Roof Frame
With your rafters cut, it's time to assemble the roof frame:
- Lay out the rafters on a flat surface.
- Use a framing square to ensure each joint is square.
- Join the rafters using a combination of screws and construction adhesive for added strength.
Consider implementing advanced joinery techniques, such as bird's mouth joints, which provide a more stable connection between the rafter and the wall plate.
Step 4: Installing the Roof Frame
Lift the assembled roof frame onto the shed:
- Ensure the frame is level and flush against the walls.
- Secure the frame using screws, ensuring each rafter is anchored firmly.
- Use temporary braces to hold the frame in position until the sheathing is installed.
Step 5: Installing Sheathing
Sheathing provides a solid surface for your roofing material:
- Cut plywood or OSB sheets to fit your roof frame.
- Secure the sheathing using screws, ensuring they are evenly spaced.
- Leave a small gap between sheets to allow for expansion.
Make sure the sheathing is flush and level to achieve a professional finish.
Step 6: Applying Roofing Material
The final step is to install your roofing material:
- Start from the bottom and work your way up, overlapping each row of shingles or panels.
- Follow the manufacturer's instructions for installation to ensure longevity and effectiveness.
- Pay attention to details such as flashing around vents and chimneys for a watertight seal.
Achieving a Professional Finish
To achieve a professional finish, consider the following tips:
- Sand any rough edges on the sheathing before applying roofing material.
- Paint or stain exposed wood for added protection and aesthetics.
- Inspect for any gaps or inconsistencies and address them before finishing touches.
Using resources like Ted Woodworking can help you find additional plans and techniques tailored to your specific shed roof design.
Final Thoughts
Building a DIY shed roof is a rewarding project that can enhance your outdoor space. By applying advanced techniques in joinery and precision, you can achieve a roof that is not only functional but also aesthetically pleasing. Take your time, follow each step carefully, and don’t hesitate to seek out the right plans and resources to guide you along the way.
FAQ
- Can I use recycled materials for my shed roof?
Yes, as long as the materials are in good condition and suitable for roofing. - How do I calculate the pitch of my roof?
The pitch is determined by the rise over run; for example, a 4/12 pitch means a rise of 4 inches for every 12 inches of run. - What is the best roofing material for a DIY shed?
It depends on your budget and climate, but asphalt shingles and metal roofing are popular choices for DIY shed roofs.
📚 Related Articles
🔨 Want 16,000+ Woodworking Plans?
Get instant access to step-by-step plans with blueprints and cut lists.
Get Instant Access →