Introduction to Building a Bathroom Vanity Cabinet
Building a bathroom vanity cabinet can be a simple and rewarding DIY project, even for beginners. With some basic tools and a little patience, you can create a beautiful and functional cabinet that will enhance the look and feel of your bathroom. In this article, we will walk you through the steps to build a bathroom vanity cabinet, focusing on simplicity and using basic tools.
Planning and Preparation
Before you start building, it's essential to plan and prepare carefully. Determine the size and design of your cabinet based on the space available and your personal preferences. You can find many free plans and designs online, or you can purchase plans from resources like Ted Woodworking. Make a list of the materials and tools you'll need, and ensure you have a clear workspace to work in.
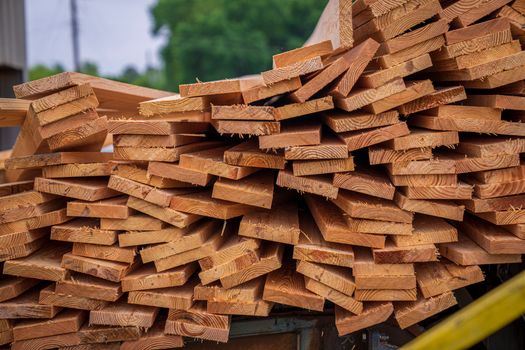
Here's a list of materials you'll need to get started:
- 3/4 inch plywood or MDF for the cabinet box and shelves
- 1x4 lumber for the frame and supports
- 1x2 lumber for the shelf supports
- Wood glue
- 2 1/4 inch screws
- 1 1/4 inch screws
- Wood filler
- Sandpaper
- Paint or stain (optional)
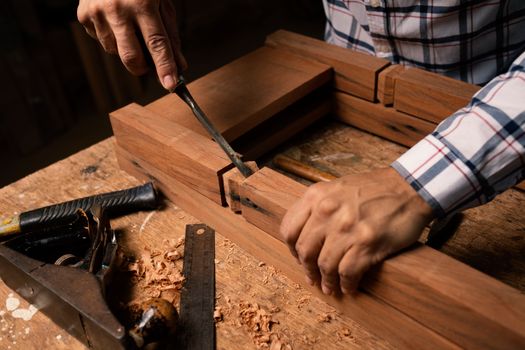
Building the Cabinet Box
To build the cabinet box, start by cutting the plywood or MDF to the required size using a circular saw or a handheld saw. Assemble the box using 2 1/4 inch screws, making sure the corners are square and the box is level. Use wood glue to reinforce the joints and ensure a strong bond.
Next, cut the 1x4 lumber to the required length and attach it to the inside of the cabinet box, creating a frame to support the shelves. Use 1 1/4 inch screws to secure the frame to the box.
Adding Shelves and Supports
Cut the shelves to the required size and attach them to the frame using 1 1/4 inch screws. Make sure the shelves are level and evenly spaced. Cut the 1x2 lumber to the required length and attach it to the shelves, creating supports to hold the shelf in place.
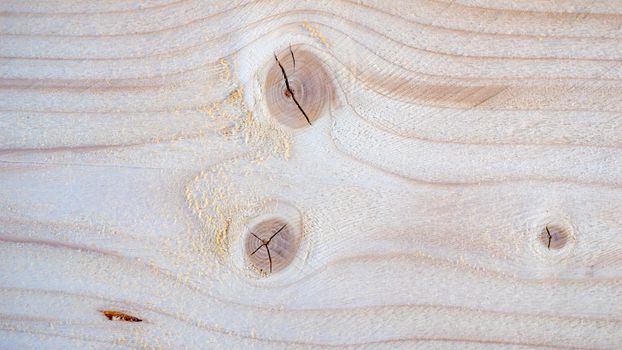
Use wood filler to fill any gaps or holes, and sand the entire cabinet to smooth out any rough edges or surfaces. If desired, you can paint or stain the cabinet to match your bathroom decor.
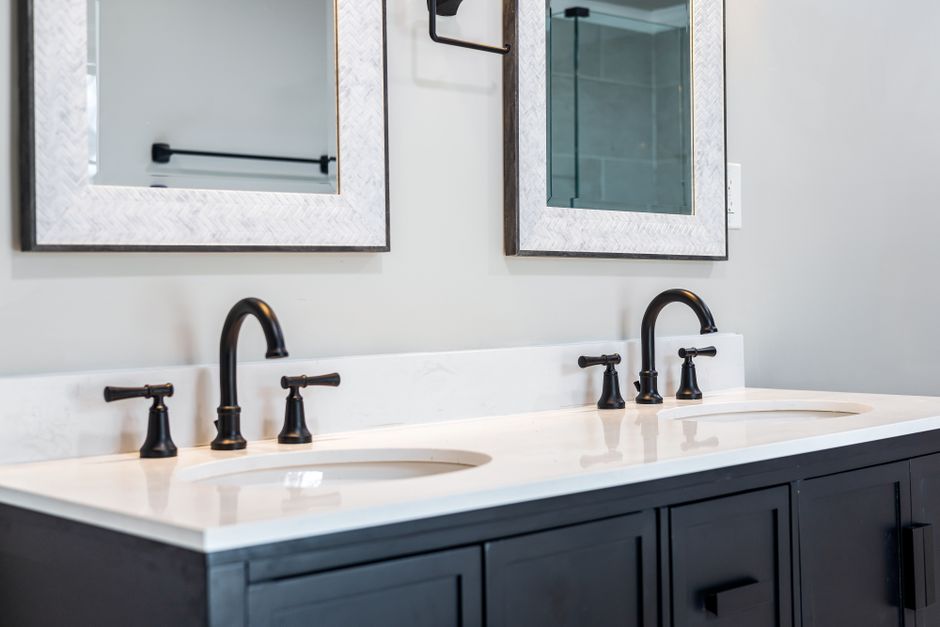
Assembling and Installing the Cabinet
Once the cabinet is built, you can assemble and install it in your bathroom. Attach the cabinet to the wall using screws or brackets, making sure it is level and secure. Install the countertop and sink, and attach the faucet and any other hardware.
Here are some tips to keep in mind when assembling and installing the cabinet:
- Use a level to ensure the cabinet is perfectly level
- Use screws or brackets to secure the cabinet to the wall
- Make sure the cabinet is securely attached to the wall to prevent it from tipping over
Conclusion
Building a bathroom vanity cabinet can be a fun and rewarding DIY project, even for beginners. By following these simple steps and using basic tools, you can create a beautiful and functional cabinet that will enhance the look and feel of your bathroom. Remember to plan and prepare carefully, and don't be afraid to ask for help if you need it.
Frequently Asked Questions
Here are some frequently asked questions about building a bathroom vanity cabinet:
- Q: What type of materials should I use to build a bathroom vanity cabinet? A: You can use 3/4 inch plywood or MDF for the cabinet box and shelves, and 1x4 lumber for the frame and supports.
- Q: How do I ensure the cabinet is level and secure? A: Use a level to ensure the cabinet is perfectly level, and attach it to the wall using screws or brackets.
- Q: Can I build a bathroom vanity cabinet without any experience? A: Yes, building a bathroom vanity cabinet can be a great DIY project for beginners. Just remember to plan and prepare carefully, and don't be afraid to ask for help if you need it.
🔨 Want 16,000+ Woodworking Plans?
Get instant access to step-by-step plans with blueprints and cut lists.
Get Instant Access →